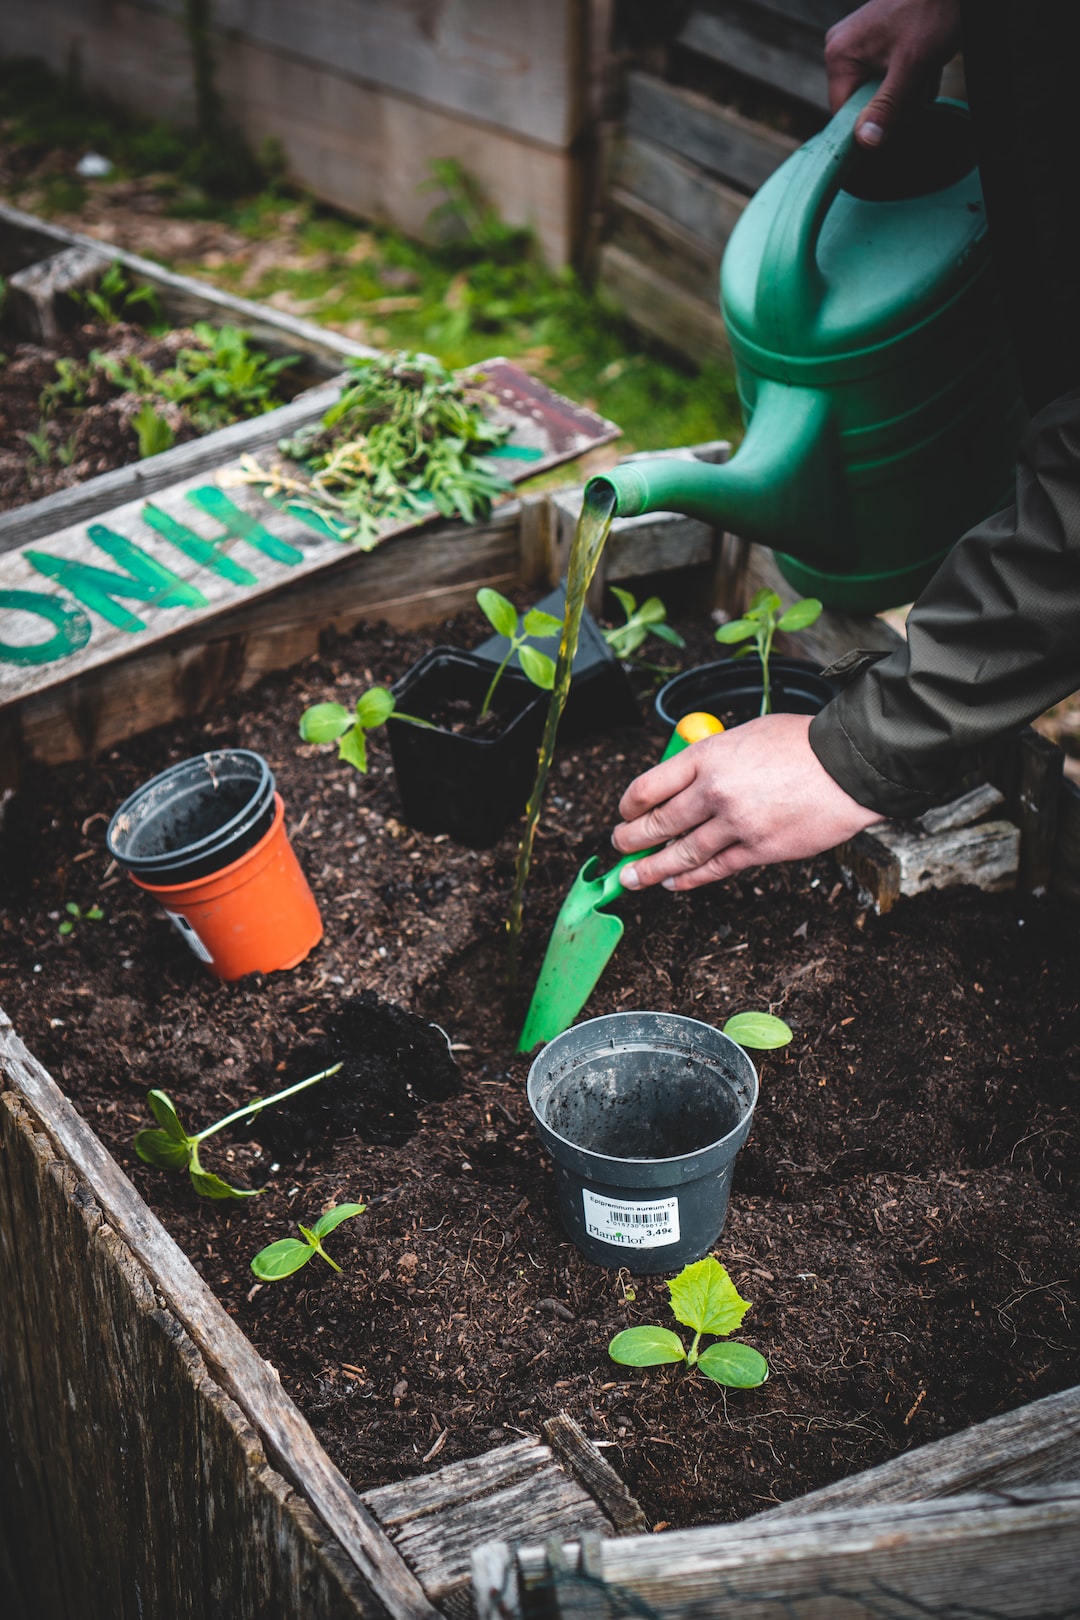
If you’re a garden enthusiast, chances are you’ve tried your hand at growing plants from seeds. Watching those tiny seeds develop into mature plants is a rewarding experience. However, once the seedlings outgrow their pots and need to be transplanted, many gardeners feel a bit uncertain. But fear not! Transplanting seedlings is easier than it seems. With the right techniques and a little care, you can ensure your seedlings thrive in their new home. Here are some tips on how to successfully transplant seedlings.
1. Timing is key:
Before transplanting your seedlings, make sure they’re ready. They should have developed their first set of true leaves, and their stems should be sturdy. This usually takes about 4-6 weeks from sowing the seeds. If you transplant them too early, they may struggle to survive the shock of transplantation.
2. Choose the right location:
Select a suitable spot in your garden for transplanting. Consider the amount of sunlight, shade, and soil type required by your specific seedlings. Ensure the location has good drainage to prevent waterlogging, which could lead to root rot.
3. Prepare the soil:
Preparing the soil is crucial for the success of your seedlings. Loosen the soil to a depth of at least 6-8 inches and remove any weeds or debris. Amend the soil with organic matter, such as compost or aged manure, to provide the seedlings with the necessary nutrients.
4. Water the seedlings:
Thoroughly water the seedlings a couple of hours before transplanting. This ensures that the roots are well-hydrated and makes it easier to remove them from their pots without damaging the delicate root system.
5. Dig the holes:
Dig holes in the prepared soil, making them slightly wider and deeper than the pots in which the seedlings are currently growing. This provides the seedlings with plenty of room to spread their roots. Space the holes according to the recommended spacing for your specific plants.
6. Gently remove the seedlings:
Carefully remove the seedlings from their pots by gently tapping the bottom to loosen the roots. If the seedlings are tightly packed, use the end of a pencil or a small tool to pry them loose. Be careful not to damage the roots, as they are crucial for the plant’s survival.
7. Plant the seedlings:
Place each seedling into its designated hole, making sure the roots are fully covered with soil. Press down lightly to eliminate any air pockets and ensure good contact between the roots and soil. Leave enough space around each seedling to prevent overcrowding and competition for resources.
8. Water and mulch:
After transplanting, thoroughly water the seedlings to minimize transplant shock and help them establish new roots. Mulch the soil around the seedlings with a layer of organic material, such as straw or wood chips, to conserve moisture, suppress weed growth, and moderate soil temperature.
9. Provide support if needed:
If your seedlings are tall or will require additional support as they grow, insert stakes or cages near the plants at the time of transplantation. This will minimize root disturbance later and provide necessary support as the seedlings grow.
10. Monitor and care for the seedlings:
Keep a close eye on your transplanted seedlings in the first few weeks. Water them regularly, especially during periods of dryness, and ensure they receive adequate sunlight. Protect them from pests, diseases, and extreme weather conditions. With proper care, your seedlings will adapt to their new environment and thrive.
Transplanting seedlings doesn’t have to be daunting. By following these steps and giving your seedlings the care they need, you’ll increase their chances of survival and eventual success. So, go ahead and give your young plants the new home they deserve! Happy gardening!

